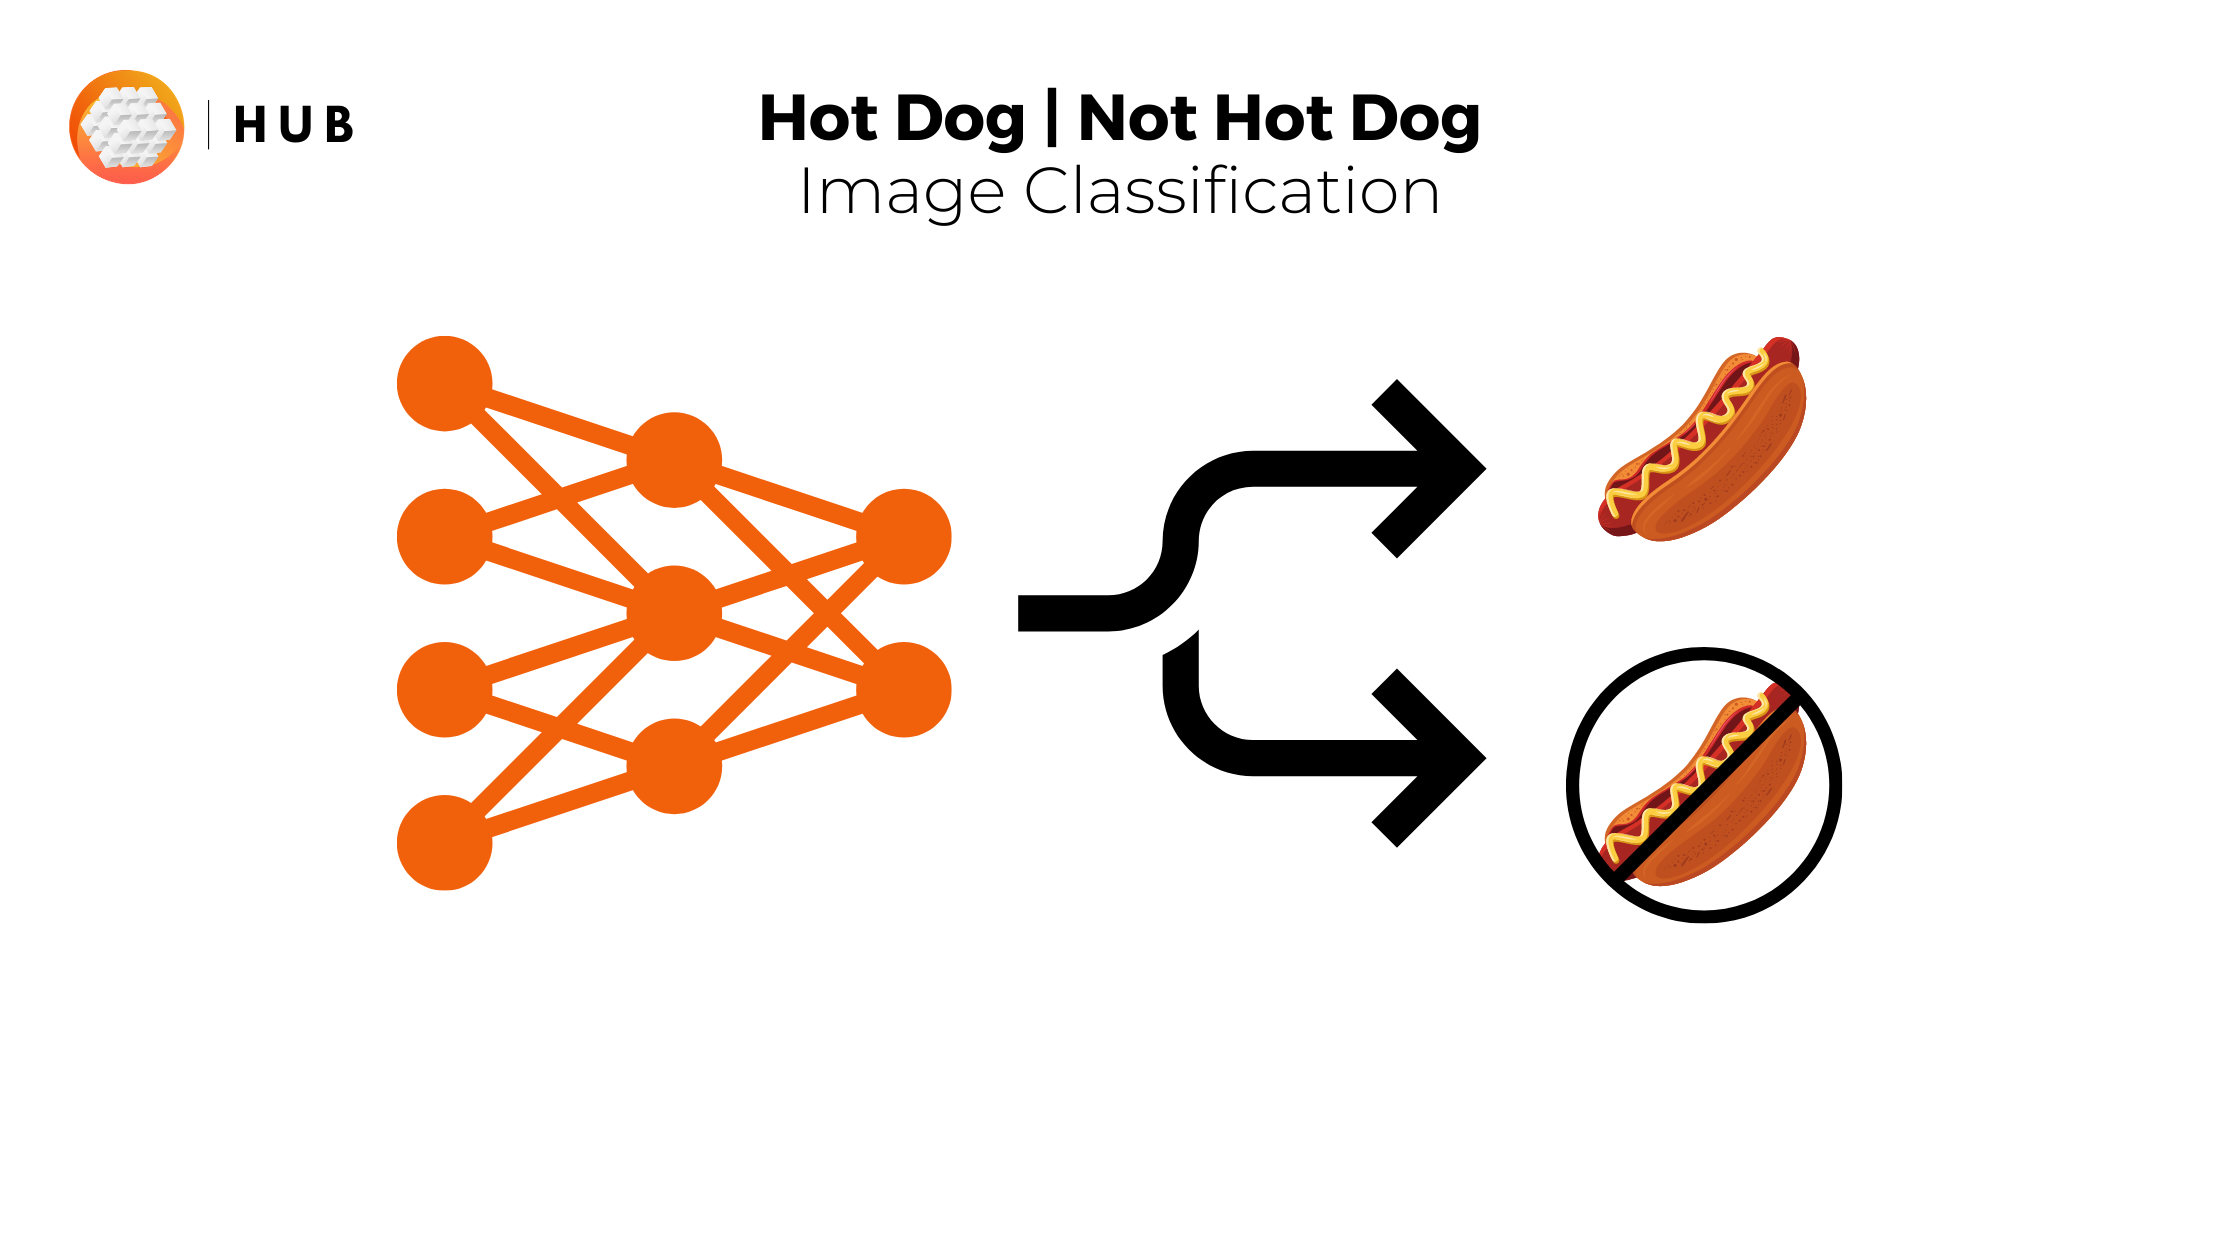
Have you ever tried using not-so-popular datasets such as CelebA or ag_news using services such as Tensorflow Datasets (tfds) or torchvision.datasets? Well I have and most of the time, you’ll run into several errors finally resorting to traditional methods such as zip and tar. The following is a story of how to deal with this and other problems that arise during machine and deep learning tasks. We’ll take a look at a classic Hot Dog / Not Hot Dog example, with a twist - it would be so much easier than the process you might’ve grown accustomed to at the image pre-processing stage of your computer vision tasks. Sounds delicious? I know! Try not to think of hot dogs or get hungry over the next couple of minutes, though.
What’s Software 2.0, and why it’s not really possible without Data 2.0
Andrej Karpathy famously referred to neural networks as Software 2.0, stating that the code behind many of the applications currently in use is much more abstract, such as the weights of a neural network. Software 2.0 increasingly relies on unstructured data - images, videos, text, etc. All this data is stored and utilized inefficiently in data lakes, data warehouses or object storage. This forces us, machine learning engineers, to play ketchup (pun intended) with each other, trying to find a incremental improvement to the convoluted problem of data wrangling, but we never really solve it. Enter Hub by Activeloop.
Setting up (the grill)
Hub allows you to store your computer vision datasets as cloud-native multidimensional arrays, so you can seamlessly access and work with it from any machine. You can even version control datasets similarly to git version control. Each version doesn’t store the exact copy but rather the differences. That new paradigm of working with data is called Data 2.0. You could also think of it as a system where repositories are datasets and commits are made up of additions and edits of the labels.
Using Activeloop Hub you can work with public or your own private data, locally or on any cloud. In this tutorial, we’ll upload the Hot-Dog-Not-Hot-Dog dataset to the Activeloop Hub’s platform, as well as visualize it within the web app.
To load a public dataset, one needs to write dozens of lines of code and spend hours accessing and understanding the API as well as downloading the data. With Hub, you only need two lines of code, and you can get started working on your dataset in a couple of seconds.
First things first, we install the python package using pip
pip install hub
To upload your own data, you’ll need to register and authenticate into Hub. You can register for an account at this link https://app.activeloop.ai/. If you’re planning to follow this tutorial with my dataset, there’s no need to register!
Getting Started 🚀
You can access popular computer vision datasets in Hub by following a straight-forward convention. For example to get the first 1000 images of the famous Google Objectron dataset that we’ve released a while ago, we can run the following snippet:
import hub

objectron = hub.dataset("hub://activeloop/objectron_bike_train")
objectron["image"][0:1000].numpy()
In this blogpost, however, we’ll create our own Dataset and then upload it to the Activeloop platform. Let’s get started.
Building the Barbe-cute Dataset
The dataset we are using is the Hot Dog - Not Hot Dog dataset.
As we’re trying to build a Binary Image Classifier, our dataset contains only two components, namely:
imagelabel
We create the Hub dataset following the manual creation at this link.
First, we find all the paths to the jpg images in the folders:
import glob
path_images_train = glob.glob('./train/**/*.jpg')
path_images_test = glob.glob('./test/**/*.jpg')
Then we create a function to use when creating a Hub dataset:
from tqdm import tqdm
import os
import numpy as np
def create_hub_dataset(dataset_name, classes, files_paths):
with hub.empty(dataset_name, overwrite=True) as ds:
    # Create the tensors
    ds.create_tensor('image', htype = 'image',
                    sample_compression = 'jpeg')
    ds.create_tensor('label')

    # Iterate through the images and their corresponding embeddings,
    # and append them to hub dataset
    for i in tqdm(range(len(files_paths))):
        label_text = os.path.basename(os.path.dirname(files_paths[i]))
        label_num = classes.index(label_text)

        # Append to Hub Dataset
        ds.image.append(hub.read(files_paths[i]))
        ds.label.append(np.uint32(label_num))
=> We associate a label 0 if the image is in the not_hot_dog folder and 1 if it is in the hot_dog folder.
Upload your computer vision dataset to Activeloop Hub ⬆️
Finally we create the train hot-dog-not-hot-dog-train and test hot-dog-not-hot-dog-test datasets using the function we just implemented:
class_names = ['not_hot_dog', 'hot_dog']

hot_dog_not_hot_dog_train = create_hub_dataset('hub://your-username/hot-dog-not-hot-dog-train', class_names, path_images_train)
hot_dog_not_hot_dog_test = create_hub_dataset('hub://your-username/hot-dog-not-hot-dog-test', class_names, path_images_test)
So, we meat again, advanced transformations
Let’s look at what else we can do with Data Processing Using Parallel Computing
. An essential part of any computer vision data pipeline is image pre-processing. In this tutorial, we’re going to use a convolutional neural network called Resnet18 to train a Binary Image Classifier. All pre-trained models expect input images normalized in the same way, i.e. mini-batches of 3-channel RGB images of shape (3 x H x W), where H and W are expected to be at least 224. The images have to be loaded into a range of [0, 1] and then normalized using mean = [0.485, 0.456, 0.406] and std = [0.229, 0.224, 0.225].
Thus, we’ll create another dataset, this time with an image size of (224, 224, 3), and then normalize the images using Dataset Processing Pipelines.
The Model 👷♀️
Transfer Learning
The main aim of transfer learning (TL) is to implement a model quickly i.e. instead of creating a DNN (dense neural network) from scratch, the model will transfer the features it has learned from the different dataset that has performed a similar task. This transaction is also known as knowledge transfer.
Resnet18
What is ResNet? ResNet was one of the most innovative deep learning models in the computer vision/deep learning community in the last few years. A residual network, or ResNet for short, is a DNN that helps to build deeper neural networks by utilizing skip connections or shortcuts to jump over some layers. This helps solve the problem of vanishing gradients.
There are different versions of ResNet, including ResNet-18, ResNet-34, ResNet-50, and so on. The numbers denote layers, although the architecture is the same. ResNet-18 is thus 18 layers deep.
In the end, we just add an Adaptive Pooling Layer and a Fully Connected Layer with output dimensions equal to the number of classes.
Let’s cook now (train your computer vision model)
Now that we have applied the necessary data transformations (resized and normalized our images) and created a model, the next step is to train the model. We’ll fetch the resized dataset and use the ds.pytorch() function to convert the dataset into PyTorch compatible format (see documentation here). We’ll create a DataLoader instance from the converted dataset and simply train our model.
NB: The images have to be normalized using mean = [0.485, 0.456, 0.406] and std = [0.229, 0.224, 0.225].
# Fetch Resized Dataset
pytorch_dataset = hub.dataset("hub://your-username/hot-dog-not-hot-dog-train-resized")

def transform(sample_in):
    return {'images': tform(sample_in['image']), 'labels': sample_in['label']}

tform = transforms.Compose([
    transforms.ToPILImage(), # Must convert to PIL image for subsequent operations to run
    transforms.RandomRotation(20), # Image augmentation
    transforms.ToTensor(), # Must convert to pytorch tensor for subsequent operations to run
    transforms.Normalize([0.485, 0.456, 0.406], [0.229, 0.224, 0.225]),
])

# Convert to Pytorch Compatible Format
train_loader = pytorch_dataset.pytorch(batch_size=32, num_workers=4, shuffle = True, transform = transform)

# Some Hyperparameters
n_epochs = 20
criterion = torch.nn.CrossEntropyLoss()
optimizer = torch.optim.Adam(model.parameters(), lr=0.003)
device = torch.device("cuda" if torch.cuda.is_available() else "cpu")

# Training
for epoch in range(n_epochs):
    print(f"Epoch {epoch}")
    # Setting Running Loss to Zero
    running_loss = 0.0
    for i, data in enumerate(train_loader):
        # Get image, label pair
        inputs = data['images']
        labels = torch.squeeze(data['labels'])

        # Convert into proper format and dtype
        X = inputs.to(device)
        y = labels.to(device)

        # Set gradients to Zero
        optimizer.zero_grad()
        # Get output from the model
        outputs = model(X)
        # Calculate the loss
        loss = criterion(outputs, y)
        # Perform Backprop
        loss.backward()
        optimizer.step()

        # Update the Loss
        running_loss += loss.item()
    print(f"Loss {loss.item()}")
print("Finished Training")
which returns while training:
Epoch 0
Loss 0.8933628797531128
Epoch 1
Loss 0.7484452724456787
Epoch 2
Loss 0.7776843309402466
Epoch 3
Loss 0.59275221824646
Epoch 4
Loss 0.9053916931152344
Epoch 5
Loss 0.6474971771240234
Epoch 6
Loss 0.5440607070922852
Epoch 7
Loss 0.5154041647911072
Epoch 8
Loss 0.698535144329071
Epoch 9
Loss 0.593272864818573
Epoch 10
Loss 0.6685177087783813
Epoch 11
Loss 0.4702700972557068
Epoch 12
Loss 0.7092627286911011
Epoch 13
Loss 0.5374390482902527
Epoch 14
Loss 0.7403539419174194
Epoch 15
Loss 0.3612355887889862
Epoch 16
Loss 0.3822404742240906
Epoch 17
Loss 0.5012180209159851
Epoch 18
Loss 0.6498820781707764
Epoch 19
Loss 0.2888537645339966
Finished Training
To find out more about Hub and how to use it in your own projects, visit the Activeloop Hub GitHub repository. For more advanced data pipelines like uploading large datasets or applying many transformations, please refer to the documentation. If you want to condiment…compliment my puns or have more questions regarding using Hub, join our community slack channel!


